 Esperanto
 Shqiptare
 Euskara
 Zulu
Zulu
 Latinus
 Cymraeg
 தமிழ்
தமிழ்
 Slovak
 Slovak
 Afrikaans
How to Set a Fence Post in Rocky Ground: A Step-by-Step Guide
Time:
2025-01-22
Setting fence posts in rocky ground can be a challenging but rewarding task. Whether you're installing a new fence or replacing an old one, rocky soil adds a layer of difficulty to the process. Fortunately, with the right tools and techniques, you can securely anchor fence posts in rocky terrain. This guide walks you through the best methods to set a fence post in rocky ground, ensuring a strong and durable fence.

Tools and Materials You Will Need:
- Post Hole Digger (manual or powered)
- Shovel or Pickaxe
- Post Driver or Hammer (if using pre-fabricated posts)
- Gravel
- Concrete (optional)
- Level
- String and Stakes (for alignment)
- Fence Posts (wood, metal, or composite)
- Screws or Nails (for securing the post)

Step 1: Plan the Fence Line
Before setting the posts, mark the location of each post along the fence line. Use string and stakes to ensure a straight and level fence. Measure the distance between each post, ensuring that they are spaced correctly according to the type of fence you plan to install (typically 6-8 feet apart for standard fences).
Step 2: Digging the Hole
Digging through rocky soil can be slow and difficult, so patience is key here. Follow these steps:
Manual Post Hole Digger: If you're using a manual post hole digger, be prepared for a lot of effort. Start by inserting the tool into the ground and twisting or lifting to loosen the soil. If you hit a large rock, try to work around it or remove it using a shovel or pickaxe. Continue until you’ve reached the required depth for your posts (usually around 2-3 feet for standard fences).
Powered Auger: If the rocks are large and numerous, consider using a powered auger or post hole digger. These machines can help you drill through smaller rocks and soil more efficiently. Some powered augers even come with rock drilling capabilities, which will help you avoid much of the manual labor.
Pickaxe or Sledgehammer: For stubborn rocks, use a pickaxe or sledgehammer to break them into smaller, manageable pieces. Once broken, remove the rocks from the hole. You may need to rotate between digging and breaking rocks until you've reached the desired depth.
Step 3: Prepare the Hole
Once you've dug the hole, check the depth to ensure it’s adequate for the type of post you're installing. The general rule of thumb is that 1/3 of the post should be buried underground. If the hole is too shallow, it can cause the post to lean or become unstable over time.
If the rocky ground makes the hole too irregular, consider widening it to accommodate more gravel or concrete. This will improve the stability of the fence post.
For added drainage and stability, line the bottom of the hole with a few inches of gravel. This ensures that water doesn’t accumulate around the base of the post, which can cause rot or weakening.
Step 4: Place the Post
Once the hole is ready, place the fence post in the center of the hole. It should sit straight and level. To ensure perfect alignment:
- Use a Level: Place a level against the post to check its vertical alignment. Adjust as needed.
- Support the Post: You may need a second person to help hold the post upright while you prepare to secure it.
Step 5: Secure the Post
There are a couple of options for securing the post, depending on your preference and the rocky conditions:
Using Concrete: One of the most common methods for setting a post in rocky ground is to pour concrete around the post. Mix the concrete according to the fence manufacturer’s instructions, then pour it into the hole. Fill the hole up to about 2 inches below ground level. Once the concrete is in, use a level to ensure the post is plumb. Allow the concrete to cure for at least 24-48 hours before proceeding with the rest of the fence installation.
Using Gravel: If you prefer a faster, more flexible method, you can set the post in gravel. Fill the hole with gravel to lock the post in place. Compact the gravel tightly using a post driver or a similar tool. The gravel will hold the post securely and allow for better drainage compared to concrete.
Using a Post Driver: If you’re working with metal or composite posts, you can use a post driver to hammer the post deeper into the ground. This is particularly useful when dealing with very rocky soils that might prevent you from digging a deep enough hole.
Step 6: Backfill and Compact
Once the post is secure, backfill the hole with soil or gravel. If you used gravel, be sure to compact it tightly around the base of the post to minimize any shifting or settling over time.
Step 7: Install the Fence
After the posts are set, you can begin installing the rest of the fence according to your planned design. Whether you're using wooden panels, wire, or another type of fencing material, make sure each section is level and securely fastened to the posts.
Tips for Success:
Choose the Right Fence Posts: In rocky ground, it's important to select fence posts that are strong and durable enough to withstand the pressure. Metal or pressure-treated wood posts are excellent choices for rocky terrains.
Check Local Regulations: Before installing your fence, ensure you comply with local regulations regarding height, property lines, and other specifications.
Work Around Large Rocks: In some cases, it may be impossible to dig through certain large rocks. If you encounter massive boulders or bedrock, consider repositioning your fence posts slightly to avoid obstacles.
Use a Rock Drill (For Large Rocks): If you need to drill through a large rock, consider using a rock drill or a masonry drill bit to make space for the post. This technique is useful if you don't want to relocate the post but still need to create enough room for the base.
Conclusion
Setting a fence post in rocky ground requires preparation, patience, and the right tools. By following the steps outlined in this guide, you can securely install fence posts that will stand the test of time, even in difficult, rocky conditions. Whether you’re building a backyard fence or securing a perimeter, a strong, well-set fence post is the foundation for a successful project.
keyword:
Share the

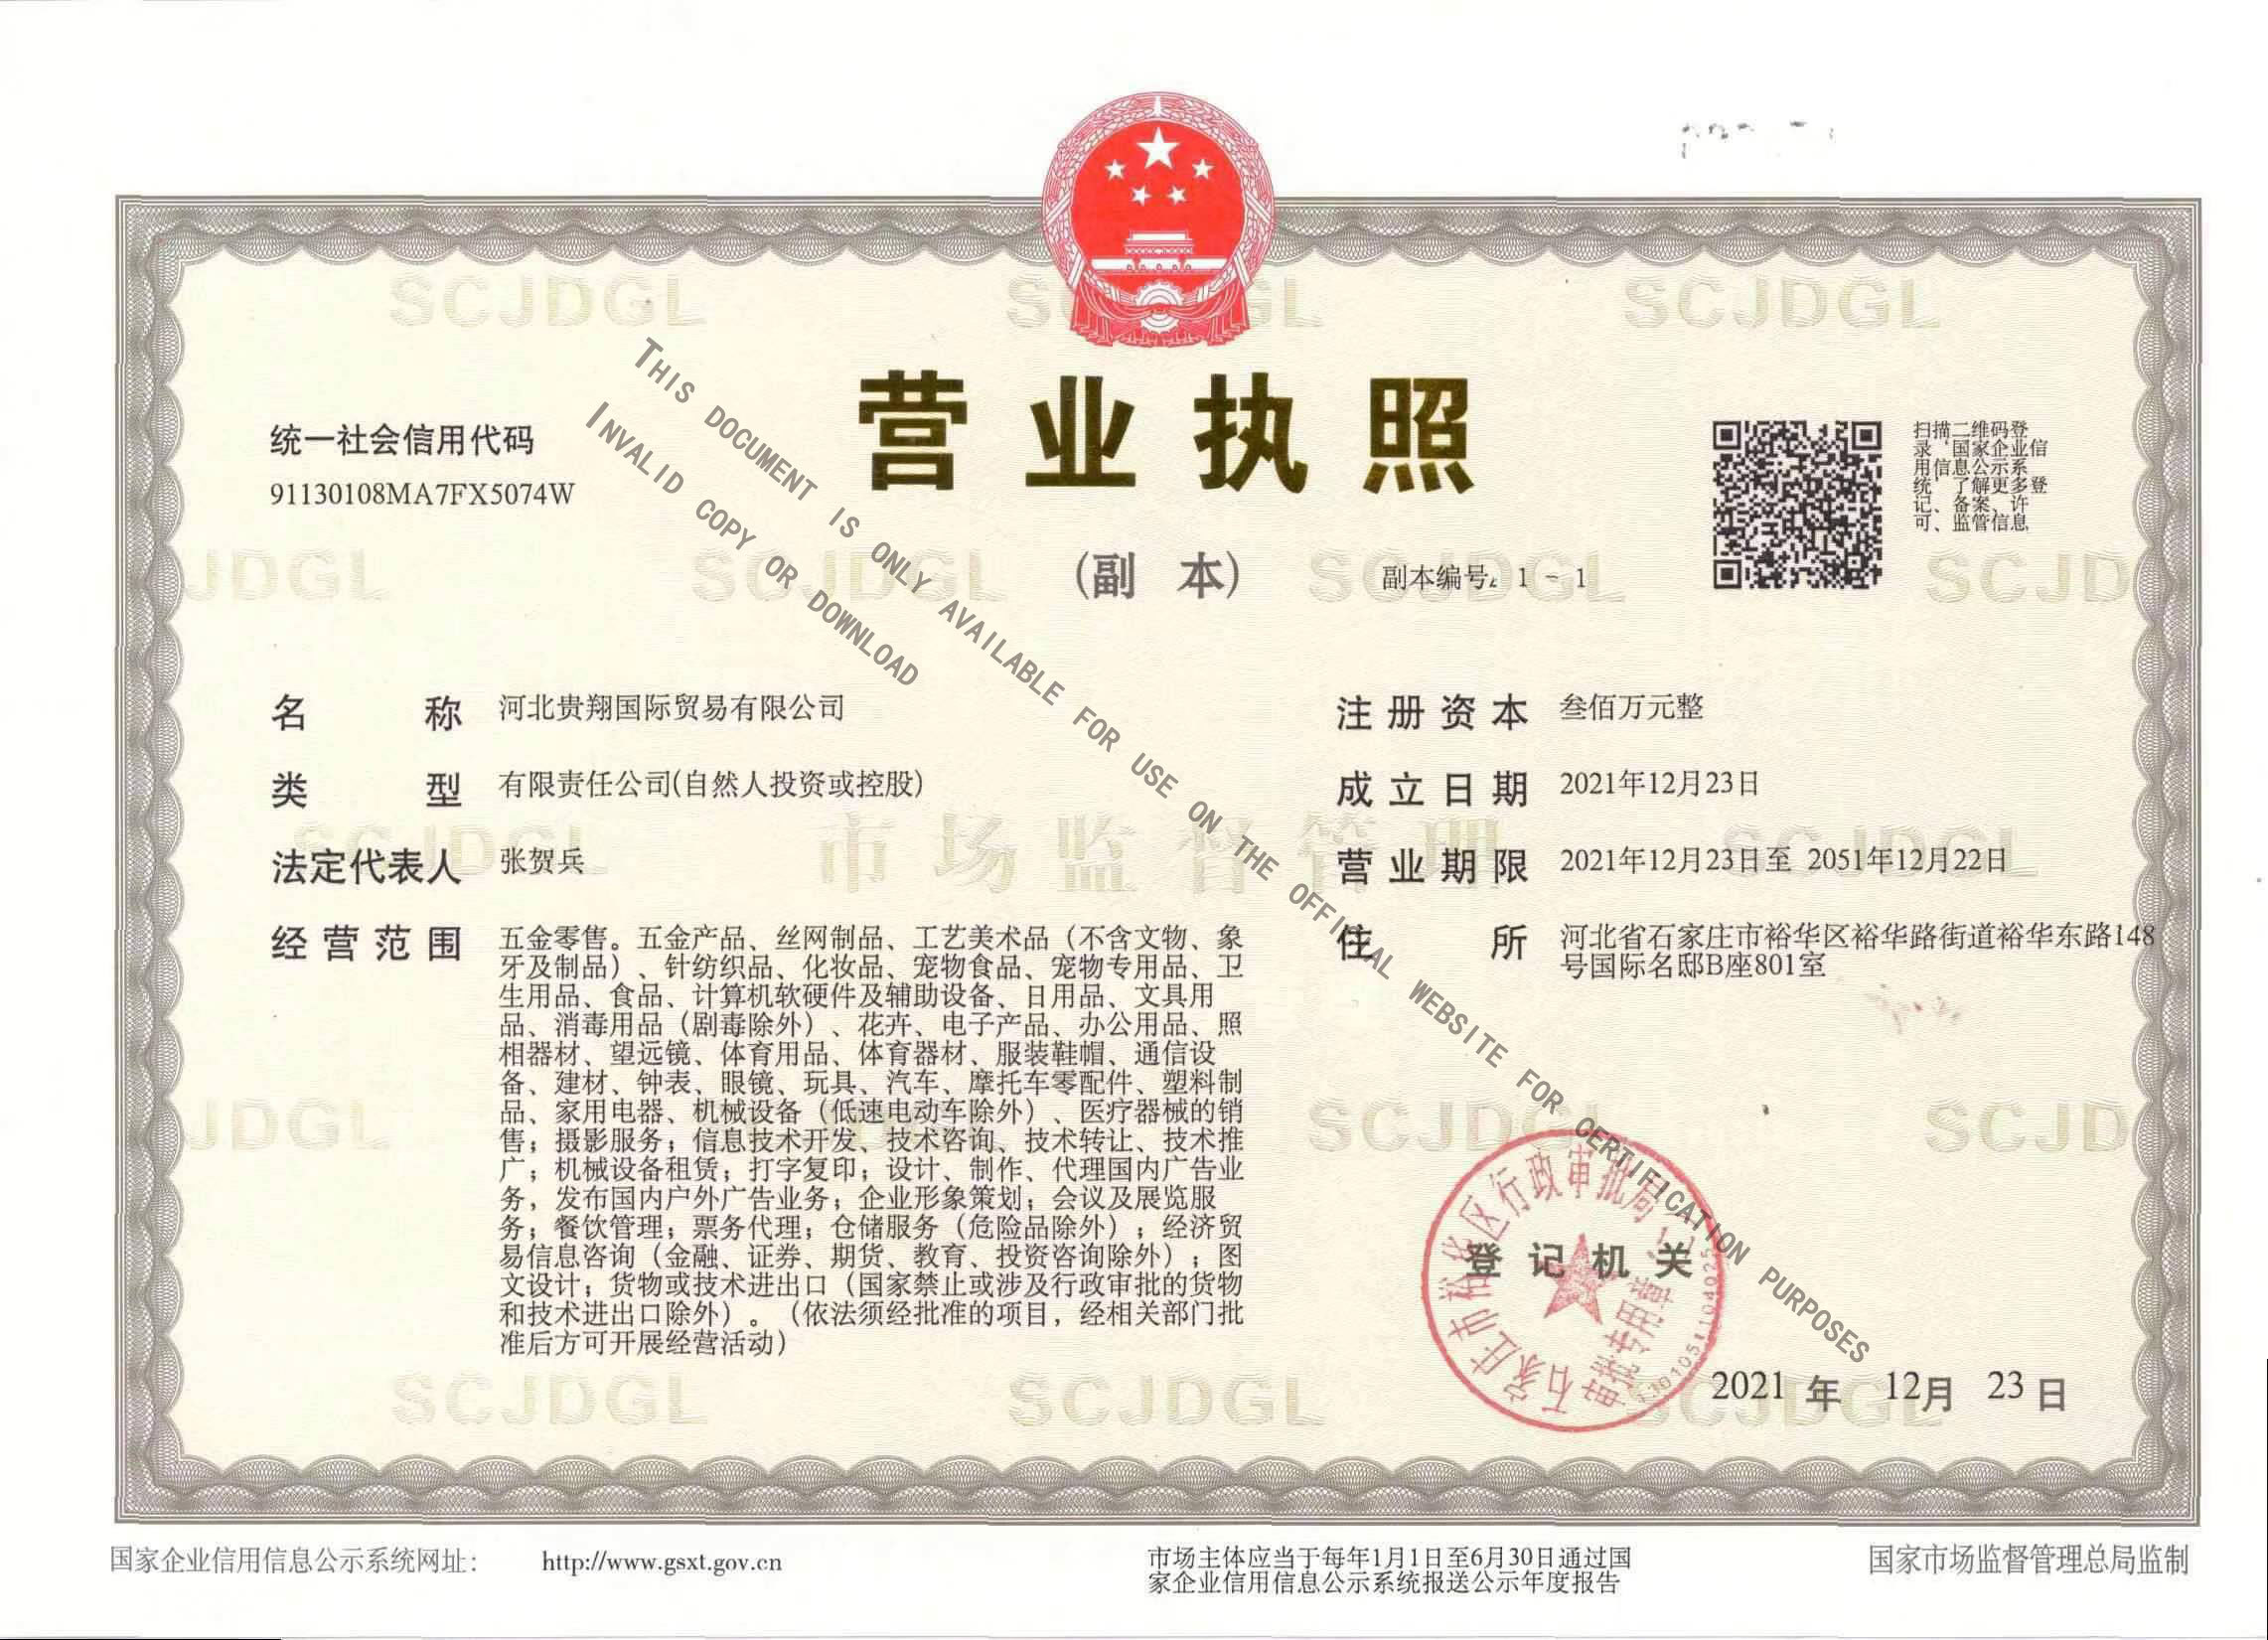
Hebei Guixiang International Trade Co., Ltd.
Add: Room 801, Building B, International Famous Residence, No. 148 Yuhua East Road
Zip code: 050000
Tel: +86-18331833286
Email: sales@gxwiremesh.com
Keywords: Welded Wire Mesh Supplier | Welded Wire Mesh Supplier | Welded Wire Mesh Supplier |
Welded Wire Mesh Supplier | Welded Wire Mesh Supplier
Wholesale Chain Link Fence | Wholesale Chain Link Fence | Wholesale Chain Link Fence |
Wholesale Chain Link Fence | Wholesale Chain Link Fence
Copyright © 2022 Hebei Guixiang International trade Ltd.
Powered by : 300.cn | SEO | City list | Business License